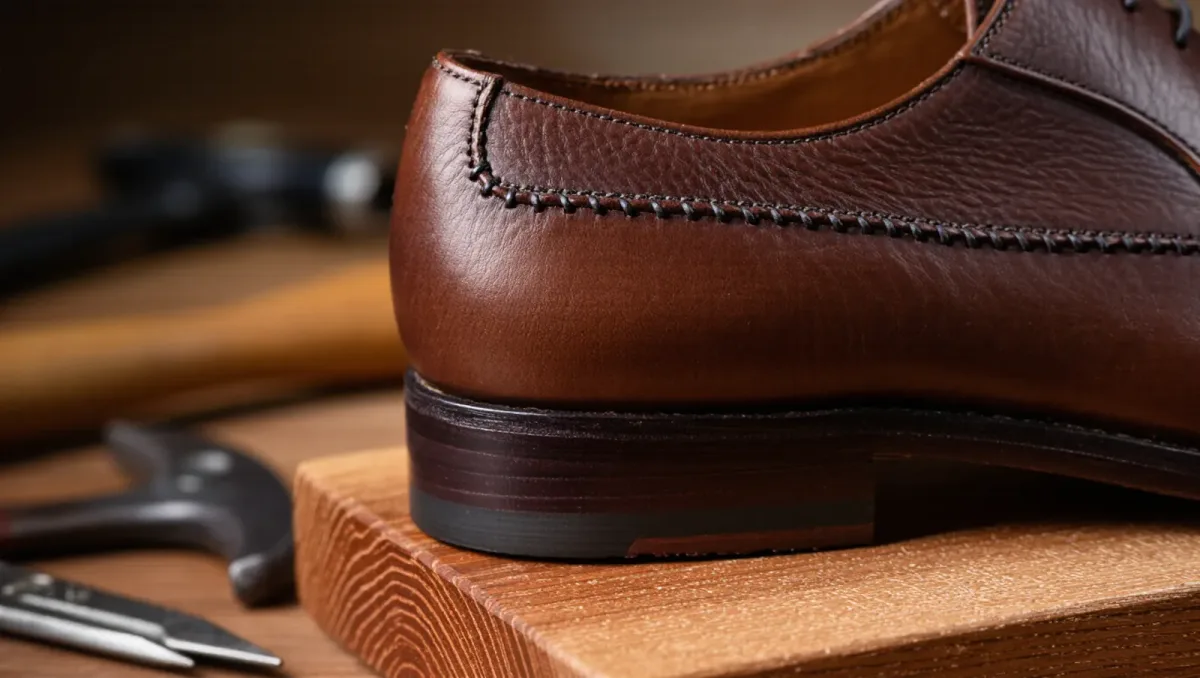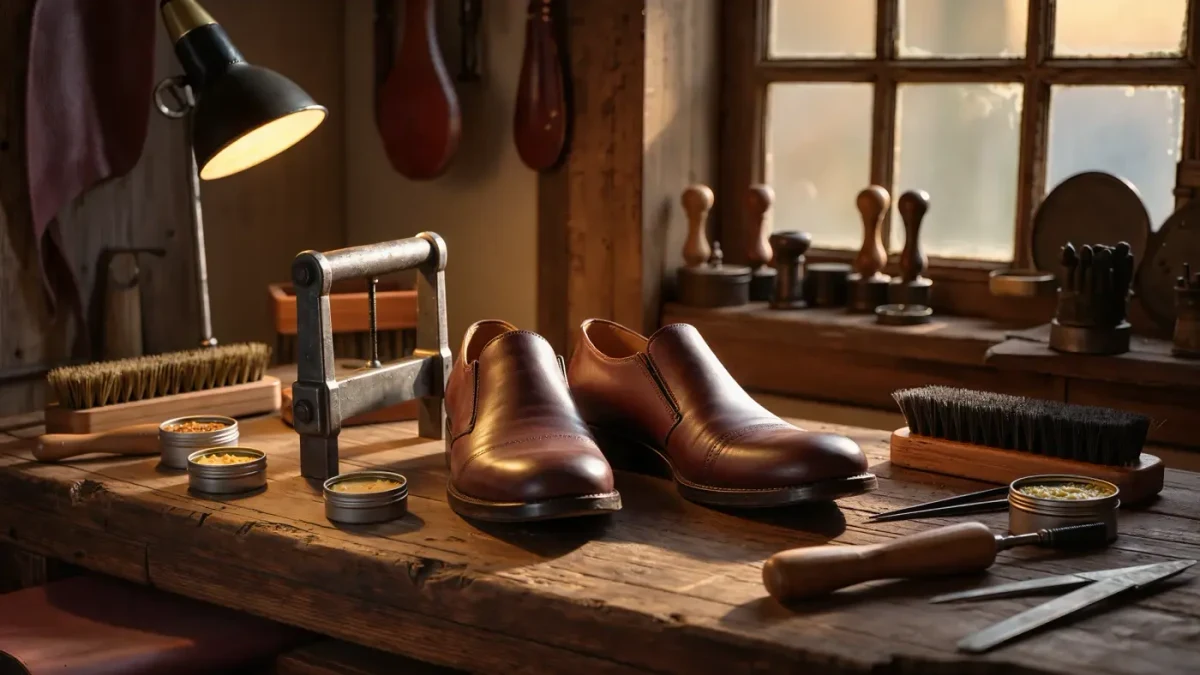
Breaking in leather shoes takes one to two weeks of short wears plus deliberate flexing at the crease points — never a hairdryer, never an oven, never a freezer bag of water. Leather softens where it creases repeatedly under your own foot's motion, so the goal is controlled bending at the toe break and gradual wear, not force. Start with fifteen-minute wears at home; that single habit prevents most of the blisters people blame on 'bad shoes'.
Zebule publishes information, not purchasing or care advice; these are common practices for vegetable-tanned and chromexcel-style leathers, and delicate finishes may need a professional cobbler instead.
Why do new leather shoes hurt in the first place?
Because stiff leather cannot yet bend where your foot bends. The shoe flexes at the ball of the foot and the heel counter rubs with every step; until fibers at those points soften and take a set, the friction lands on skin instead of on the leather's give. That is also why the methods below target two spots only: the vamp crease across the ball, and the heel collar. Everything else — width, arch, length — does not change with breaking in. If a shoe is the wrong size, no method fixes it; return it.
What do you do in the first week?
- Wear the shoes indoors for 15 to 30 minutes a day on the first two days, thick socks on. This starts the vamp crease in the right place — where your foot actually bends — before any outdoor mileage. Stop the moment you feel a hot spot; heat on skin precedes the blister.
- Flex each shoe by hand after every wear. Hold the heel in one hand, press the toe down against the floor edge or your knee so the shoe bends at the ball, hold five seconds, release. Ten repetitions per shoe per day. This doubles the creasing the leather gets without doubling the time on your feet.
- Raise outdoor wear in 30-minute increments, every other day: half an hour, then an hour, then an hour and a half. Alternate pairs if you can — leather needs a full day to dry from foot moisture, and wet leather creases where it dries, not where you bend.
- Use moleskin or bandages on known hot spots before the wear, not after the blister. Prevention patches change the friction surface; aftercare patches only cover damage.
The first-week routine changes the leather's memory: by the end of it, the vamp should hold a soft visible crease line and the heel should slide without grabbing. Skip nothing for stiff-soled boots — they simply take the same program over two weeks instead of one.
Do shoe stretchers and thick socks actually work?
- Use a two-way shoe stretcher for a specific, localized problem — a bunion point, a small toe — turned a few turns at a time and left overnight, ideally with the stretching spray the maker recommends. Stretcher use changes shoe width by millimeters, not sizes, so measure the problem spot first.
- Wear the thickest socks you own for at-home wears only. They push the leather outward gradually while you flex it. Skip this outdoors — thick socks change your gait, and a changed gait creases the shoe wrong.
- Try the damp-sock method only on unfinished leather and at your own risk: damp (not wet) socks, an hour at home, then full air-dry away from any heat source. Water swells fibers and resets them around your foot — it also risks water stains on finished leathers, which is why this step is the last resort.
Stretchers change shape where wear only softens, so they answer different problems: use wear for stiffness, stretchers for fit. Skip the freezer water-bag trick entirely — expanding ice stresses seams and welt stitching that cannot be repaired cheaply.
What speeds breaking in safely?
Leather conditioner, applied sparingly before the first wear, plumps the fibers so they crease instead of crack. One thin coat on clean shoes, worked in with a cloth, dried overnight, is enough; over-conditioning softens the leather's structure and shortens the shoe's life. A shoehorn for every wear in week one protects the heel counter's shape while it is still soft. Cedar shoe trees after every wear pull moisture out and hold the vamp flat so the crease sets in one line instead of a crumple.
When should you stop and see a cobbler?
Three signals: pain that localizes on the same spot after a week of graded wear, a heel counter that still bites when the rest has softened, or any creaking and separation at the sole edge. A cobbler can spot-stretch, counter-pad, or relax a vamp with professional tools in minutes. The honest ceiling of home breaking-in is comfort, not correction — the method above fixes stiff leather, and stubbornly wrong fit is a return, not a project.
Sources for this piece include National Park Service guidance on caring for leather objects.