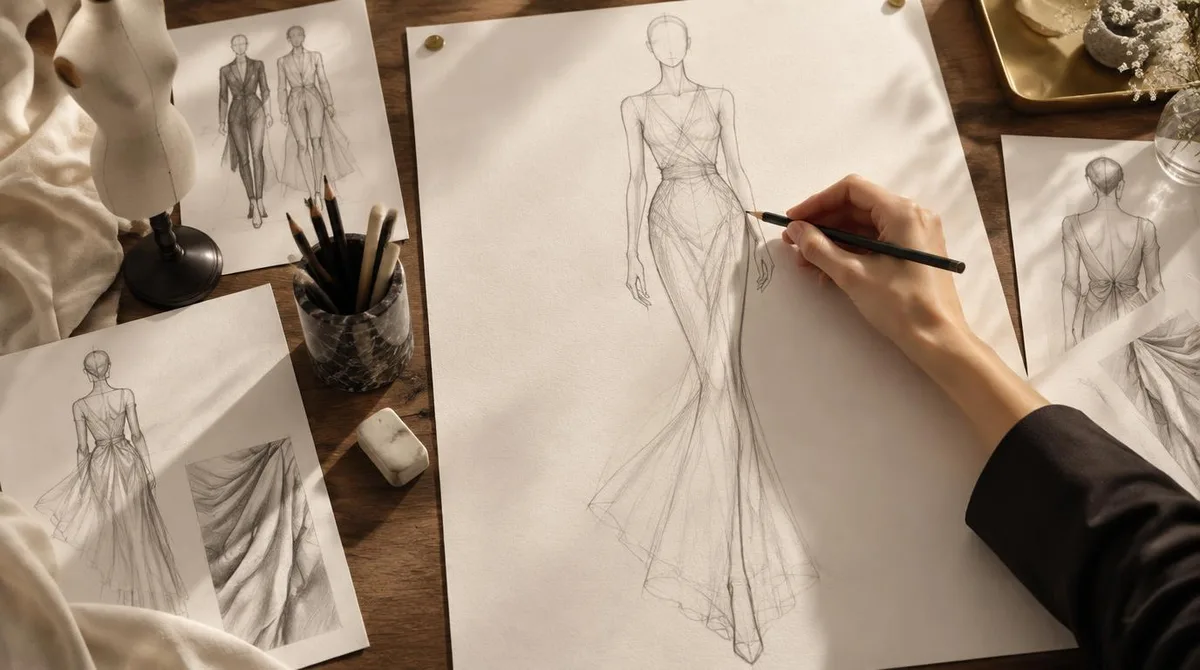
A fashion figure, or croquis, is not a real body. It is a stretched, simplified drawing template that designers sketch clothes onto. The standard version is longer than a real person, drawn in a walk-like pose, and built on a system of head counts so every figure you draw comes out consistent.
This tutorial walks through the whole process: the balance line, the head-count grid, the torso and limbs, and the pose. You need only paper and a pencil to start. If you prefer to work digitally, a free browser-based sketching tool works too — Picsart offers a free online Draw tool with adjustable brushes, layers of shapes, and the option to trace over a photo, which is a legitimate practice method for learning proportion before you draw freehand.
One note before we start: the croquis is a drawing convention, not a body standard. The elongated figure exists because it shows the flow and drape of clothing more clearly than a naturalistic body does. Designers draw it; it is not a description of what anyone should look like. We covered a connected angle in Sewing 101: Reading a Pattern Envelope Before You Cut.
What is a croquis, and why do designers use it?
A croquis (pronounced crow-kee, from the French for "sketch") is the quick figure drawing a designer uses as a hanger for clothing ideas. Real bodies come in every proportion. The croquis fixes the proportions so that when you sketch a jacket, the jacket reads the same way every time — sleeve length, hem drop, and fit all stay comparable across sketches.
The classic fashion figure is elongated: roughly nine heads tall instead of the eight or so of an average adult. The extra length goes into the legs, not the torso. That is the whole trick of the style. If your figure looks "off," it is almost always because the extra height went somewhere other than the legs.
You will draw the croquis lightly, in a soft pencil, and eventually trace over it. Many designers photocopy or scan a finished croquis and sketch clothes on top of the copies, so the figure only has to be drawn well once.
Step 1: Draw the balance line and the head-count grid
Start with a vertical line down the middle of your page. This is the balance line — the plumb line the figure hangs from. In a standing pose, the head, the pit of the neck, and the weight-bearing foot all sit on or close to this line.
Now divide the line into nine equal segments. These are your head counts. Mark each division with a small tick. The segments map like this:
- Head (1 to 2): the head itself, drawn as an oval in the top segment.
- Chin to nipples (2 to 3): the upper chest.
- Nipples to navel (3 to 4): the waist sits at about the 4 mark.
- Navel to crotch (4 to 5): the hips are widest here; the crotch lands at the halfway point of the whole figure.
- Crotch to knees (5 to 7): the knees land at about the 7 mark.
- Knees to ankles (7 to 9): the ankles at the 9 mark, feet below.
Check your ticks before moving on. Uneven head counts are the most common error in a beginner croquis, and everything built on them inherits the error.
Step 2: Block in the torso and hips
Draw light shapes first, never outlines. For the rib cage, an oval tilted slightly. For the pelvis, a wider, flatter shape below it. The gap between them is the waist — keep it narrow, because that narrowing is what makes the figure read as fashion-stylized rather than cartoonish.
Two proportions matter most here. First, the shoulders on a fashion croquis are roughly as wide as the hips, or a touch wider. Second, the waist sits noticeably above the figure's halfway point, which is what gives the legs their length. If your torso looks short and stumpy, you have drawn the waist too low.
Keep every line loose. You are placing mass, not drawing edges. The outline pass comes much later, if at all — many working sketches never get one.
Step 3: Add the arms and legs as simple limbs
Arms and legs are drawn as tapering forms, not tubes of even width. A useful approach: draw each limb as two long tapering shapes, one for the upper part and one for the lower, meeting at elbow or knee. The elbow lands around the 5-and-a-half mark (level with the waist), and the wrist reaches about mid-thigh.
Legs carry the style. The inner thigh tapers sharply toward the knee, and the calf curves before narrowing to a slim ankle. Draw both legs with one slightly forward — the classic croquis stance has the weight on one leg and the other foot turned out, heel lifted slightly. That small turn is what makes the figure look like it is mid-stride rather than standing at attention.
Hands and feet can be suggested, not detailed. A wedge for the foot, a simplified mitt for the hand. Fashion sketches are about the clothes; fussy anatomy steals time from the garment.
Step 4: Refine the contour and set the pose
Now go over your light block-in with a firmer line, following the outside of the shapes you placed. This is where the figure gains character: a slight S-curve through the spine, one shoulder a touch lower than the other, the hip on the weight-bearing side pushed out. Small asymmetries make a croquis look alive.
Check three things before you call the figure done:
- The head, neck pit, and standing foot still align with your balance line.
- The knees and ankles are not perfectly level — one is always a bit higher in a natural pose.
- The figure's center of gravity sits over the weight-bearing foot. If the figure looks like it will tip over, this is why.
When the croquis looks right, darken the final lines and erase the construction marks. Then scan or photocopy it. A small stack of clean copies becomes your sketching stock for months.
Practical steps: sketching clothes on your croquis
With a figure in hand, the clothing pass is the fun part, and it follows the same logic as dressing a real body:
- Draw the garment's silhouette first — one confident line describing the outer shape. Fit, flare, or box: decide before you detail.
- Follow the body at contact points. Where fabric touches the body (shoulders, bust, waist, thighs), the garment line hugs the croquis. Where it hangs free, it falls in straighter or curved drape lines from those contact points.
- Indicate fabric weight with line quality. Crisp, firm lines for structured fabrics like a tailored collar; soft, broken lines for fluid ones like silk.
- Add details last — seams, buttons, hems. A hem's position relative to the knee is instantly legible on a croquis, which is the whole reason the proportions are standardized.
Color comes after line, if at all. Many professional sketches stay in pencil and a single marker wash, because the sketch's job is to communicate the design, not to be a finished illustration.
Our analysis: where beginners go wrong
Three failures account for most awkward first croquis. The first is head-count drift — heads drawn too large, which shrinks the figure to eight heads and kills the elongated look. Fix it by measuring with your pencil against the grid every time. The second is over-detailed faces; a croquis needs only a shadow suggestion of features, and spending time there is time taken from the garment. The third is stiff symmetry. Real poses are never mirror-perfect, and the croquis convention exists precisely to capture movement.
Practice by tracing over photographs of runway models, then drawing the same pose freehand beside the trace. Once your freehand version matches the traced one in proportion, the grid has done its job and you can retire it.
Fashion drawing is a skill built on repetition, like any other craft in this archive — the same way our pattern-envelope guide teaches you to read before you cut, the croquis teaches you to measure before you draw. And once you can sketch a figure, you can plan outfits on paper before buying a thing, which pairs well with our guide on building an outfit around one color. For more step-by-step craft guides, browse the full tutorials archive, or explore the wider style section for the ideas behind the clothes you sketch. For related coverage, see How to build an outfit around one color.